Brick Restoration 101: Essential Tips for Restoring Old Structures
Posted on
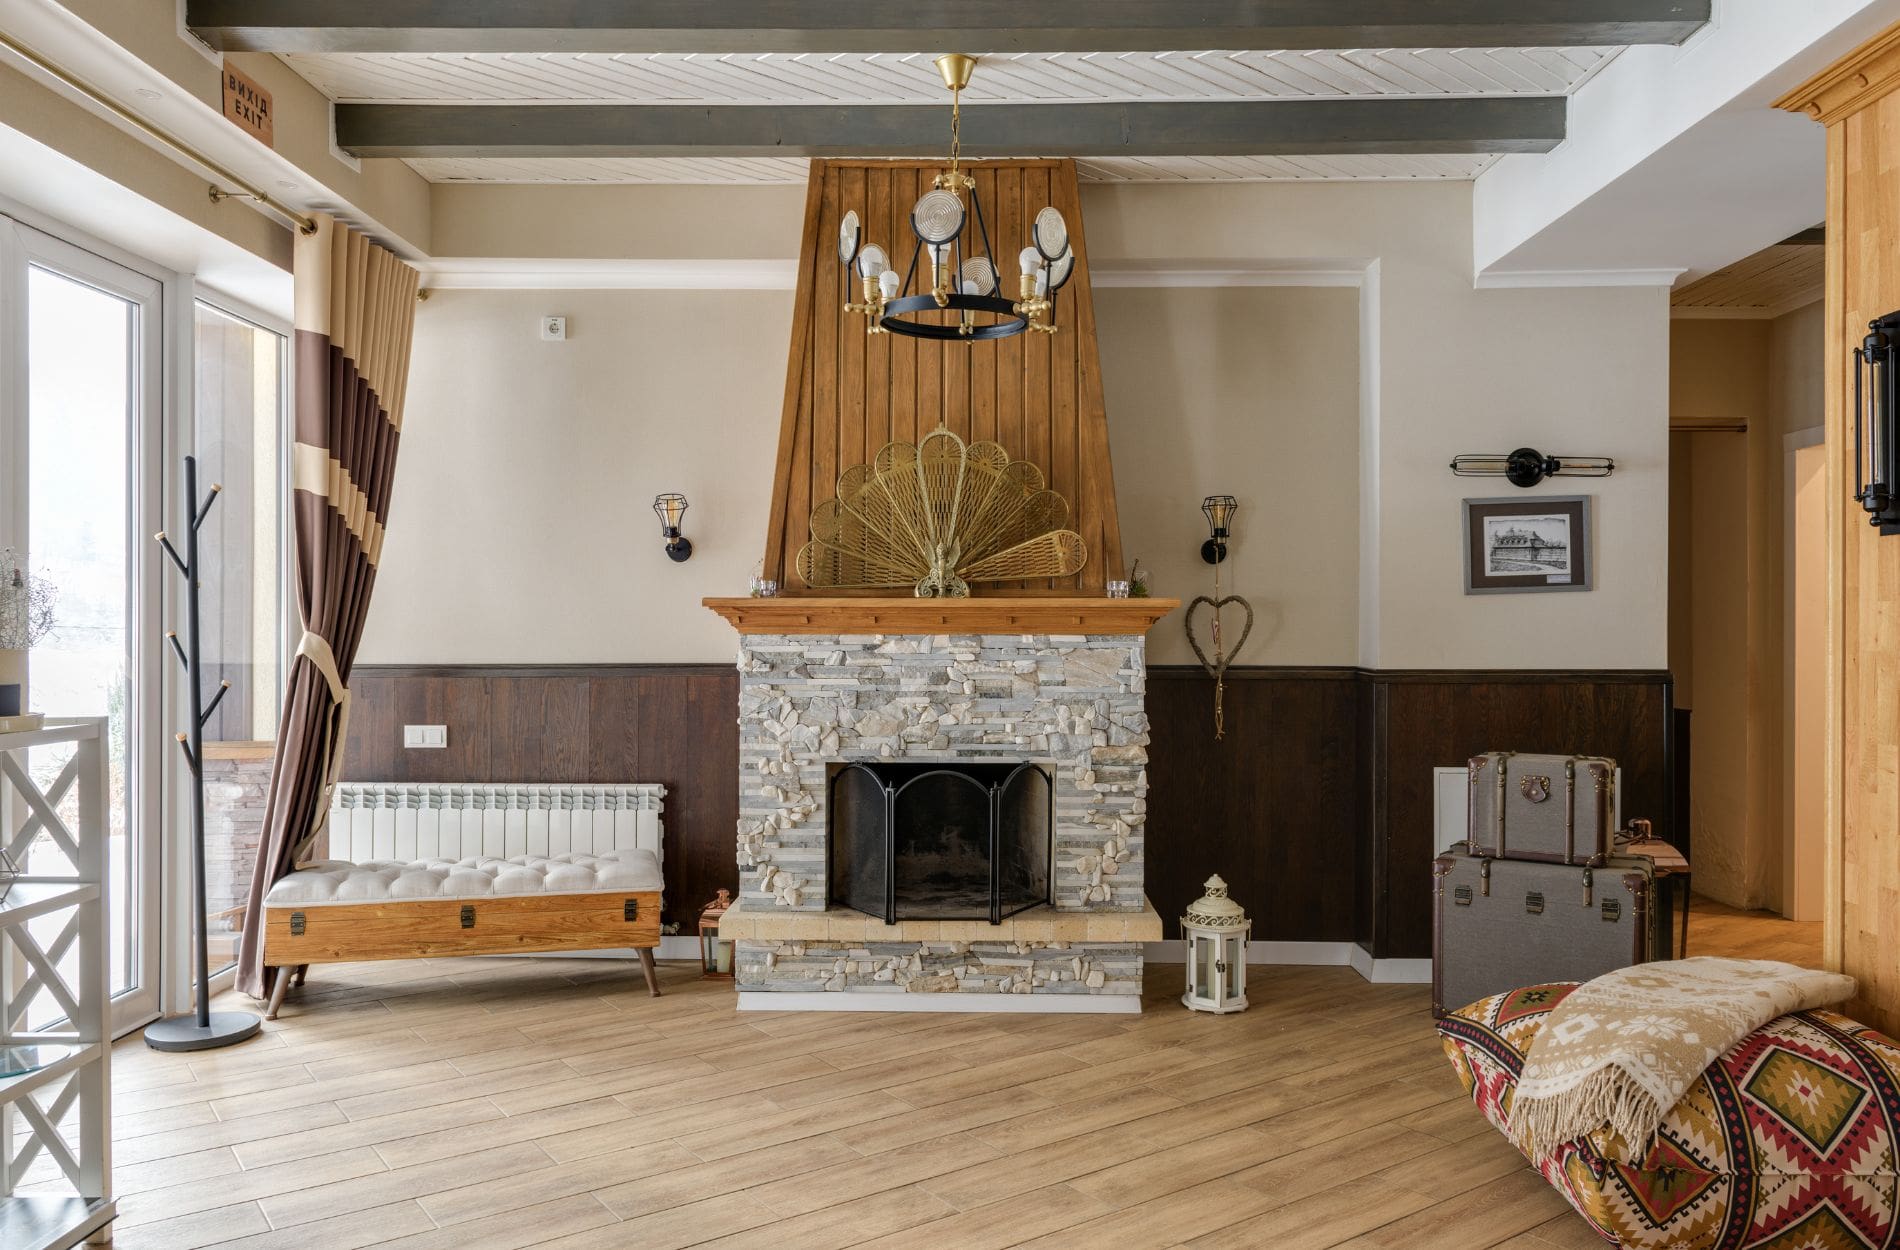
Restoring old brick structures can be a rewarding project that brings new life into historical buildings or your own home. These timeless materials give character and charm that modern constructions often lack. However, older brickwork can suffer from wear and tear over the years. Whether it’s crumbling mortar, cracked bricks, or mildew, proper restoration is key to preserving the beauty and integrity of your structure.
Brick restoration involves more than just aesthetics. It’s also about ensuring the structural stability of the building. Unaddressed damage can lead to major issues down the line, such as leaks, weakened walls, and even foundation problems. By restoring your brick structure properly, you can prevent these issues and extend the life of the building.
With that in mind, we’ll cover everything you need to know about restoring old brick structures. Let’s get started on bringing your brickwork back to its former glory!
Assessing the Condition of Your Brick Structure
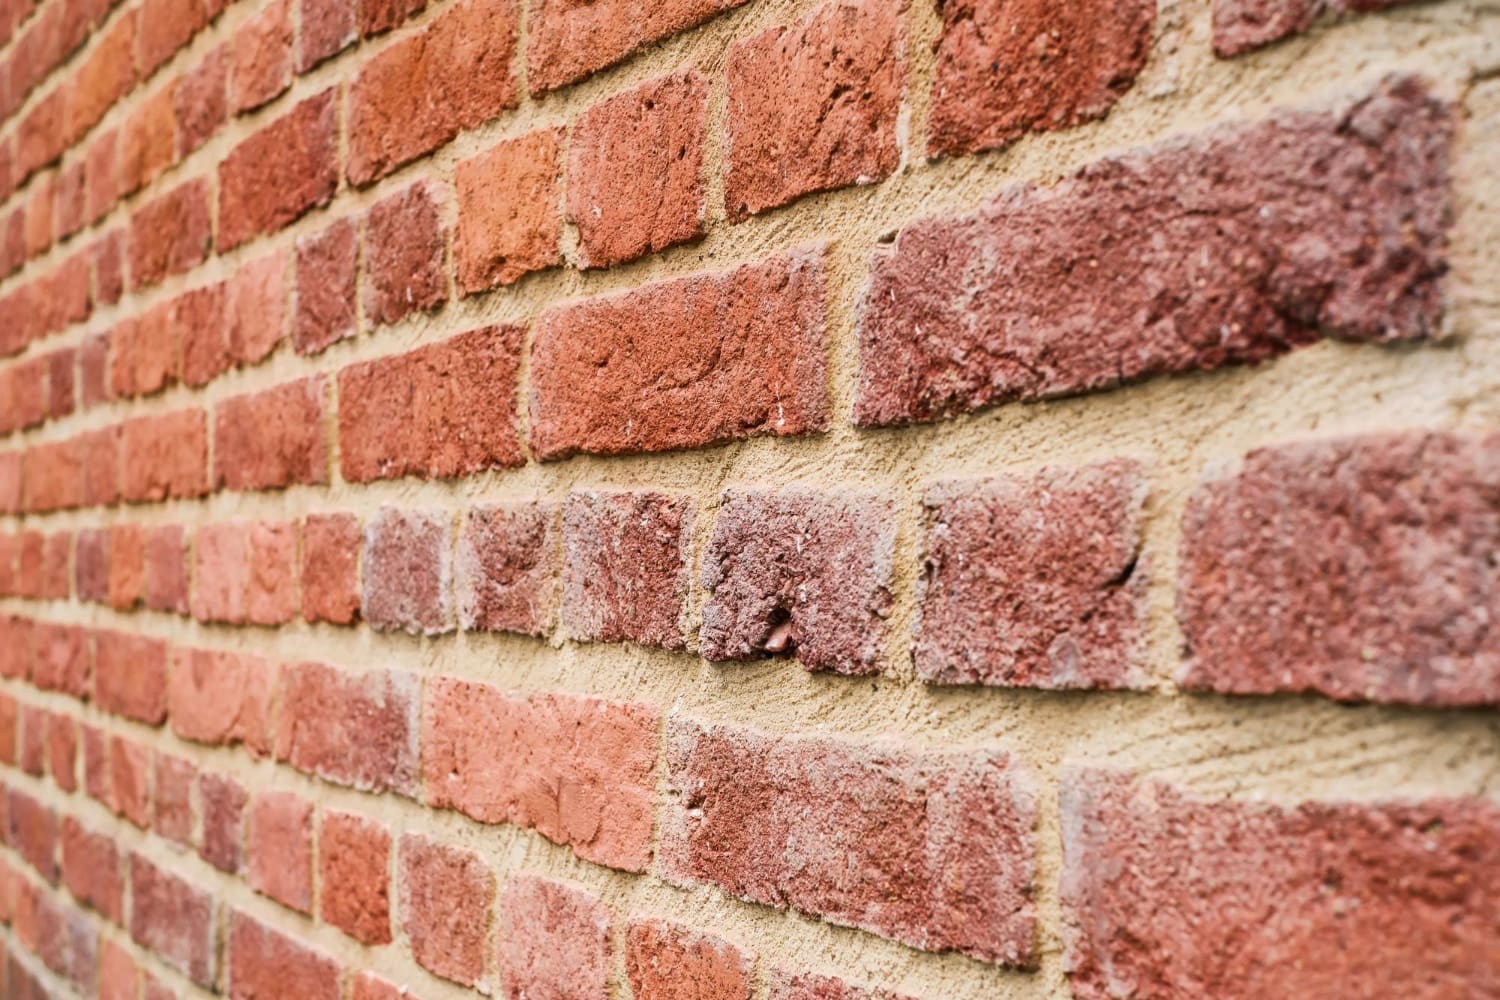
Before starting any restoration work, it’s crucial to assess the current state of your brick structure. Begin by walking around your building and noting any visible damage. Look for cracks in the bricks and mortar joints. Small, hairline cracks might not be urgent, but larger or zigzagging cracks need immediate attention.
Check the stability of the bricks. Tap on a few with a small hammer or your knuckles. Solid bricks will produce a firm sound, while damaged bricks might sound hollow or crumble easily. Also, look for signs of efflorescence, a white, powdery substance that appears when water evaporates from the brick surface. This is a sign of moisture problems that need to be addressed.
Finally, inspect the inside of the structure. Look for any signs of water damage, such as mold or mildew on walls and ceilings. Pay attention to areas near windows, doors, and the base of the walls. Uneven floors or sticking doors and windows can also indicate shifting foundations that should be looked into. Thoroughly assessing your structure helps you understand what specific repairs are needed before you begin restoration.
Essential Tools and Materials for Brick Restoration
Restoring old brick structures requires specific tools and materials to get the job done right. Here’s a list of essentials you’ll need to gather before you start:
- Trowels: Use these for applying and smoothing mortar. Different sizes help for various tasks, like filling joints or spreading mortar.
- Pointing Chisel and Hammer: These are necessary for removing old, damaged mortar without harming the bricks.
- Wire Brush: Use this to clean loose debris and old mortar from the bricks and joints.
- Mortar Mix: Choose a mortar mix that matches the original mortar in color and composition. Lime-based mortar is often best for old brick buildings.
- Bucket and Mixing Paddle: For mixing up mortar and keeping it at the right consistency.
- Sponge and Water: Essential for cleaning bricks and keeping your workspace tidy.
- Safety Gear: Don’t forget gloves, safety glasses, and a dust mask to protect yourself from debris and dust.
Having these tools and materials ready ensures your restoration project runs smoothly. Proper tools not only make the job easier but also help achieve a professional finish. Gathering everything you need beforehand can save you time and prevent interruptions during the restoration process.
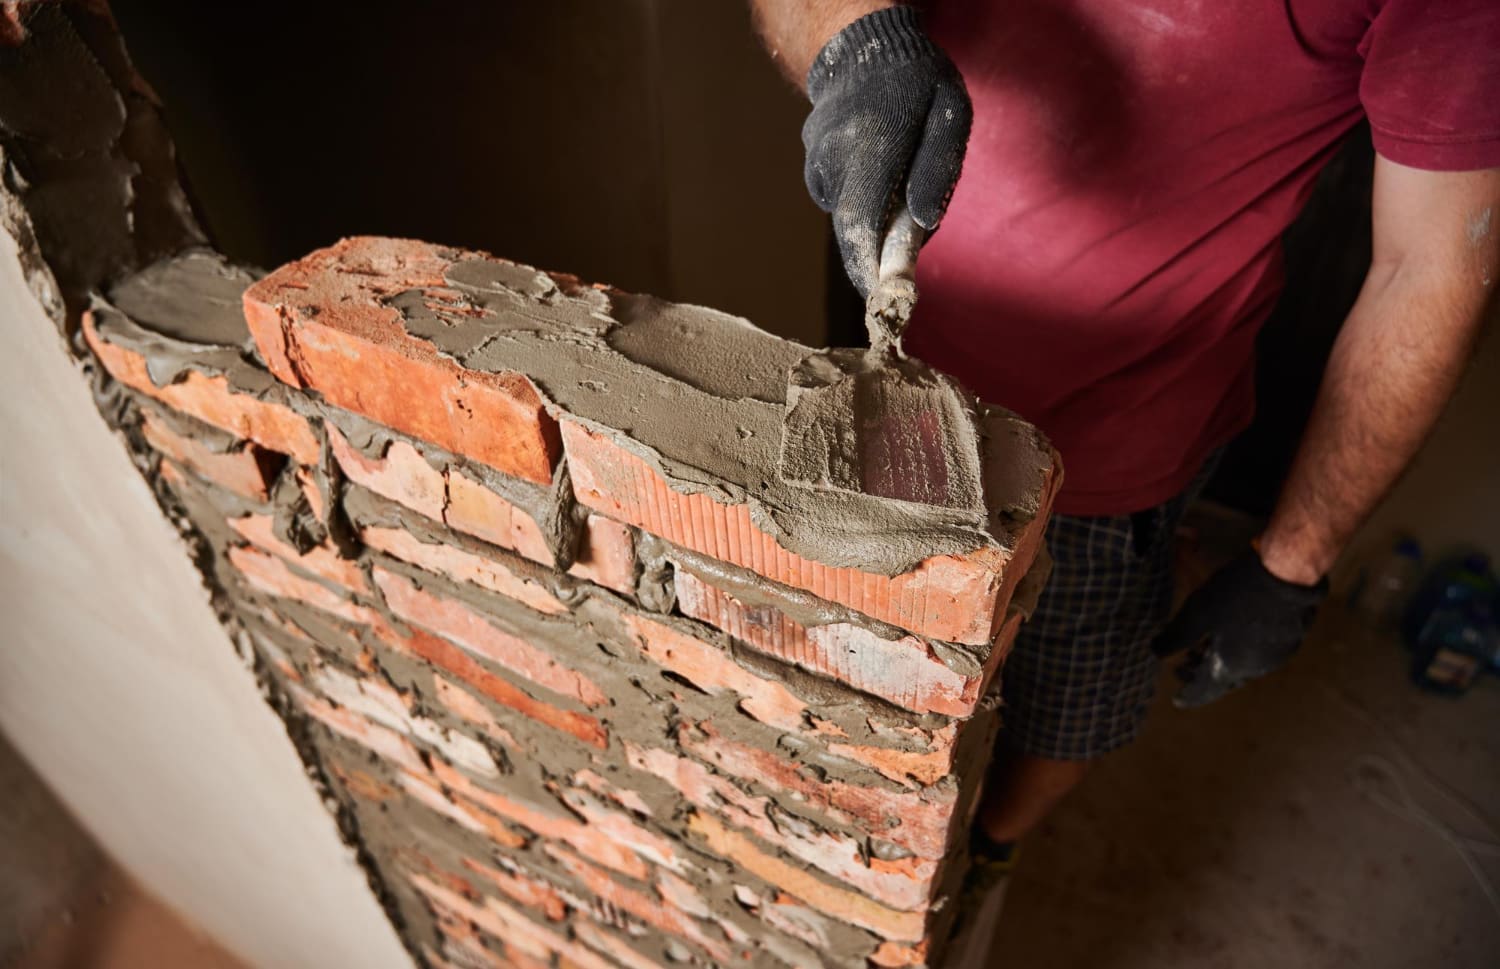
Step-by-Step Guide to Brick Tuckpointing
Brick tuckpointing involves removing old, crumbling mortar and replacing it with fresh mortar to strengthen the structure and improve its appearance. Here’s a simple step-by-step guide to help you get started:
- Prepare the Area: Start by cleaning the brick surface with a wire brush to remove any loose debris and dirt. This will help the new mortar adhere better.
- Remove Damaged Mortar: Using a pointing chisel and hammer, carefully chip away the damaged mortar. Make sure to remove at least ¾ inch of old mortar from the joints. Take your time to avoid damaging the bricks.
- Clean the Joints: After removing the old mortar, use a brush to sweep out any remaining debris and dust. This ensures the new mortar sets properly.
- Mix the Mortar: Follow the manufacturer’s instructions to mix the mortar to the right consistency. It should be thick enough to stick to a trowel without dripping.
- Apply the Mortar: Using a trowel, pack the mortar into the cleaned joints. Press down firmly to fill any gaps and smooth out the surface. It’s best to work in small sections to ensure the mortar doesn’t dry out before you’ve finished.
- Shape the Joints: Once the mortar begins to set, use a pointing tool to shape and smooth out the joints. This gives your brickwork a neat and finished look.
- Clean Up: Use a damp sponge to wipe away any excess mortar on the brick surfaces before it fully dries. This helps prevent a messy appearance.
By following these steps, you can successfully restore the mortar joints in your old brick structure, giving it a fresh and sturdy finish.
Preventative Measures for Long-Lasting Restoration
After putting in the effort to restore your brick structure, it’s important to take steps to ensure that your hard work lasts. Here are some preventative measures to keep your brickwork in top shape:
- Regular Inspections: Periodically check your brick structure for signs of damage. Look for cracks, crumbling mortar, or water damage. Catching these issues early can prevent bigger problems down the line.
- Proper Drainage: Ensure that water drains away from your brick structure. This helps to avoid water seeping into the mortar and causing damage. Clear gutters regularly and make sure downspouts direct water away from the foundation.
- Control Vegetation: Keep plants, trees, and shrubs away from the structure. Roots can cause pressure on the foundation, and moisture from plants can speed up the deterioration of mortar and bricks.
- Sealant Application: Applying a water-repellent sealant can help protect your brick structure from moisture. Choose a breathable formula that allows moisture to escape from the brick, preventing buildup that can cause damage over time.
- Repair Small Issues Promptly: Don’t let small cracks or damaged mortar go unattended. By addressing minor issues promptly, you can prevent them from becoming major problems that require extensive repairs.
By implementing these preventative measures, you can keep your restored brick structure looking great and ensure its durability for years to come.
Preserving the Past: Restoring Historic Brick Buildings
Restoring old brick structures is a rewarding task that enhances the beauty and strength of your home. By carefully assessing the condition, using the right tools, and following proper techniques like brick tuckpointing, you can achieve impressive results. Regular maintenance and preventative steps help ensure your restoration efforts stand the test of time.
If you notice signs of damage or want professional assistance, it’s important to act swiftly. At Detroit Brick Co., we specialize in brick masonry repair and restoration in Detroit. Contact us to schedule an inspection and keep your brick structures in top condition!